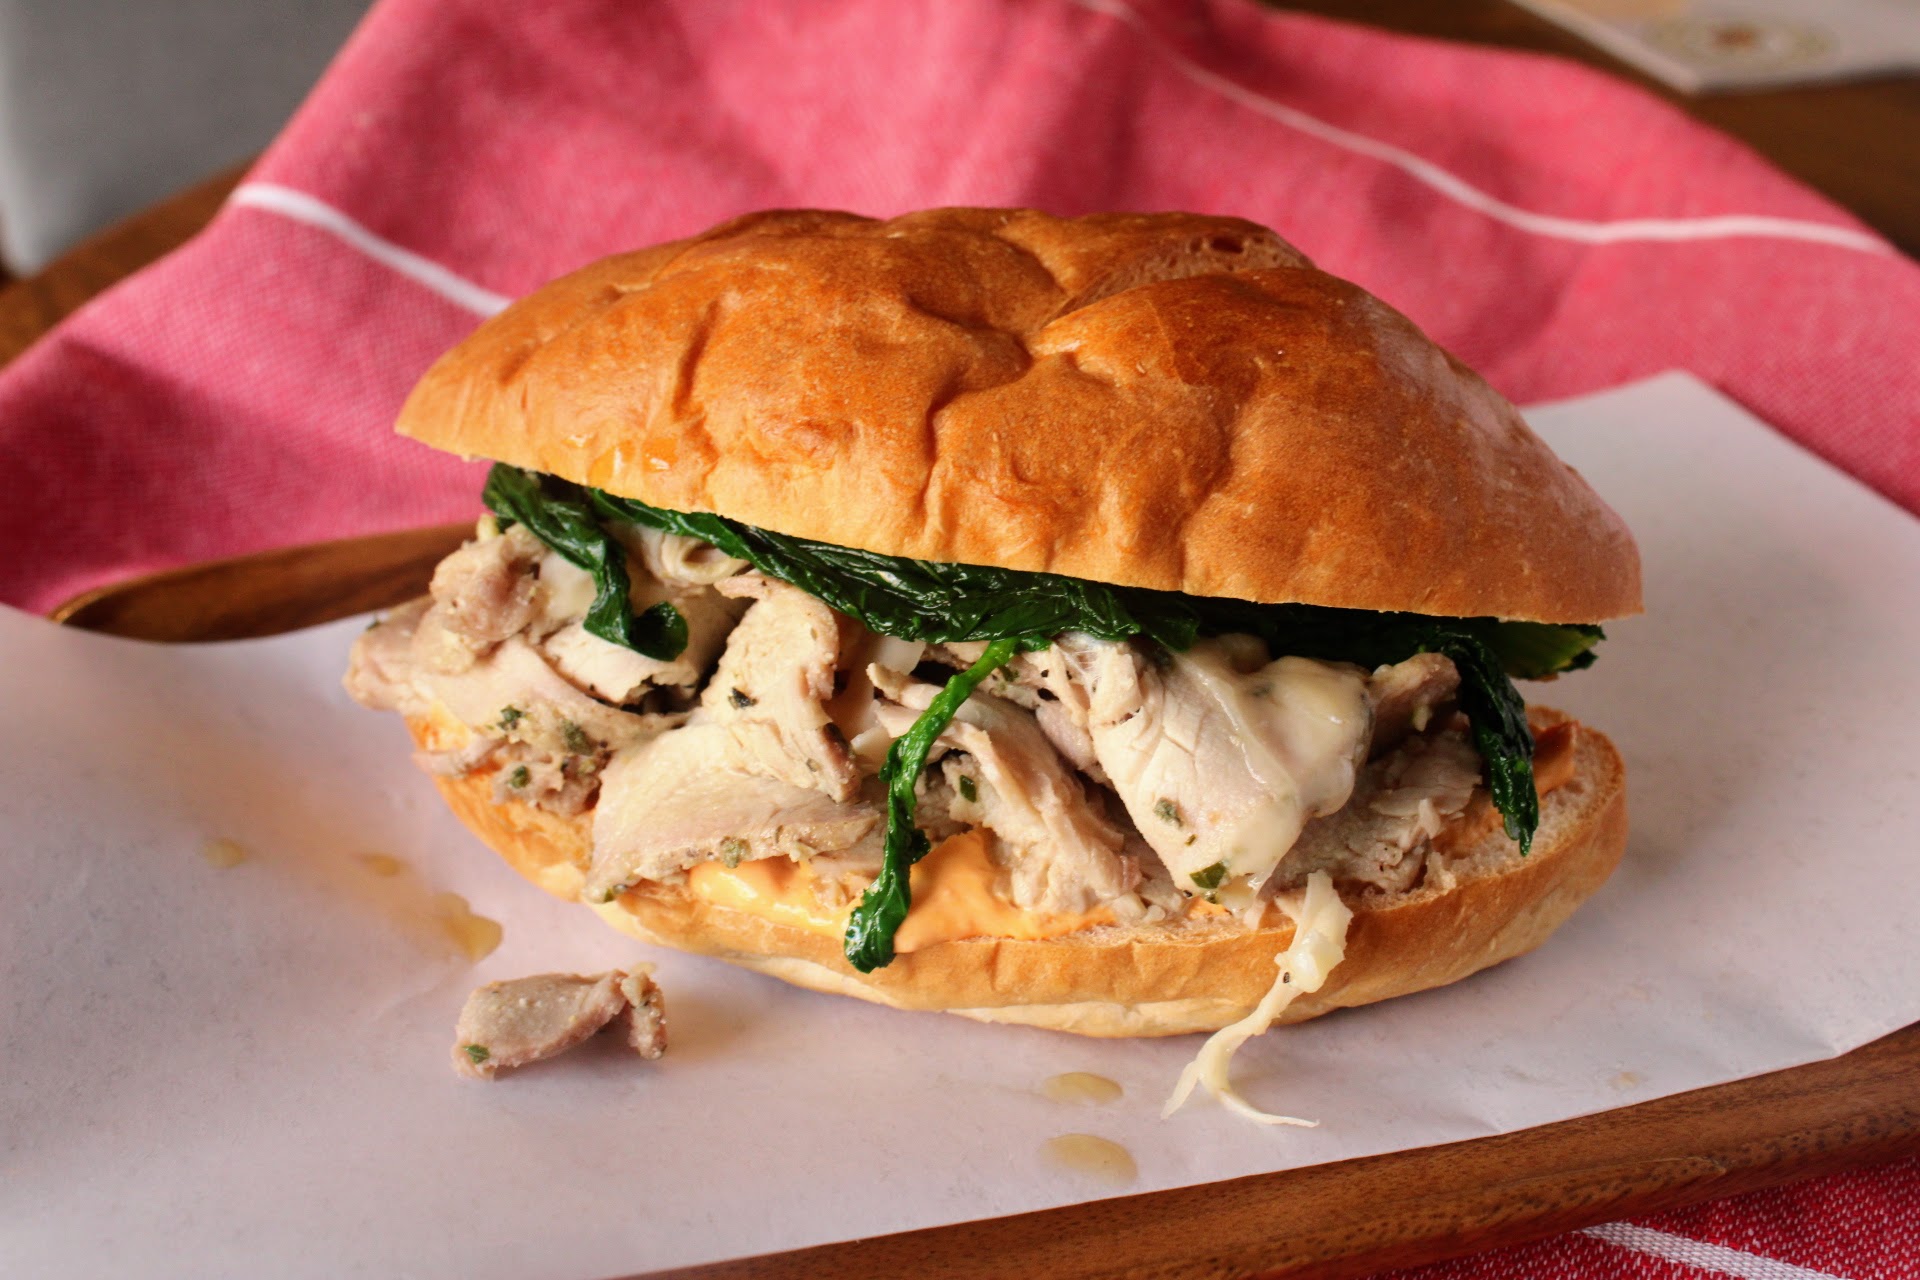
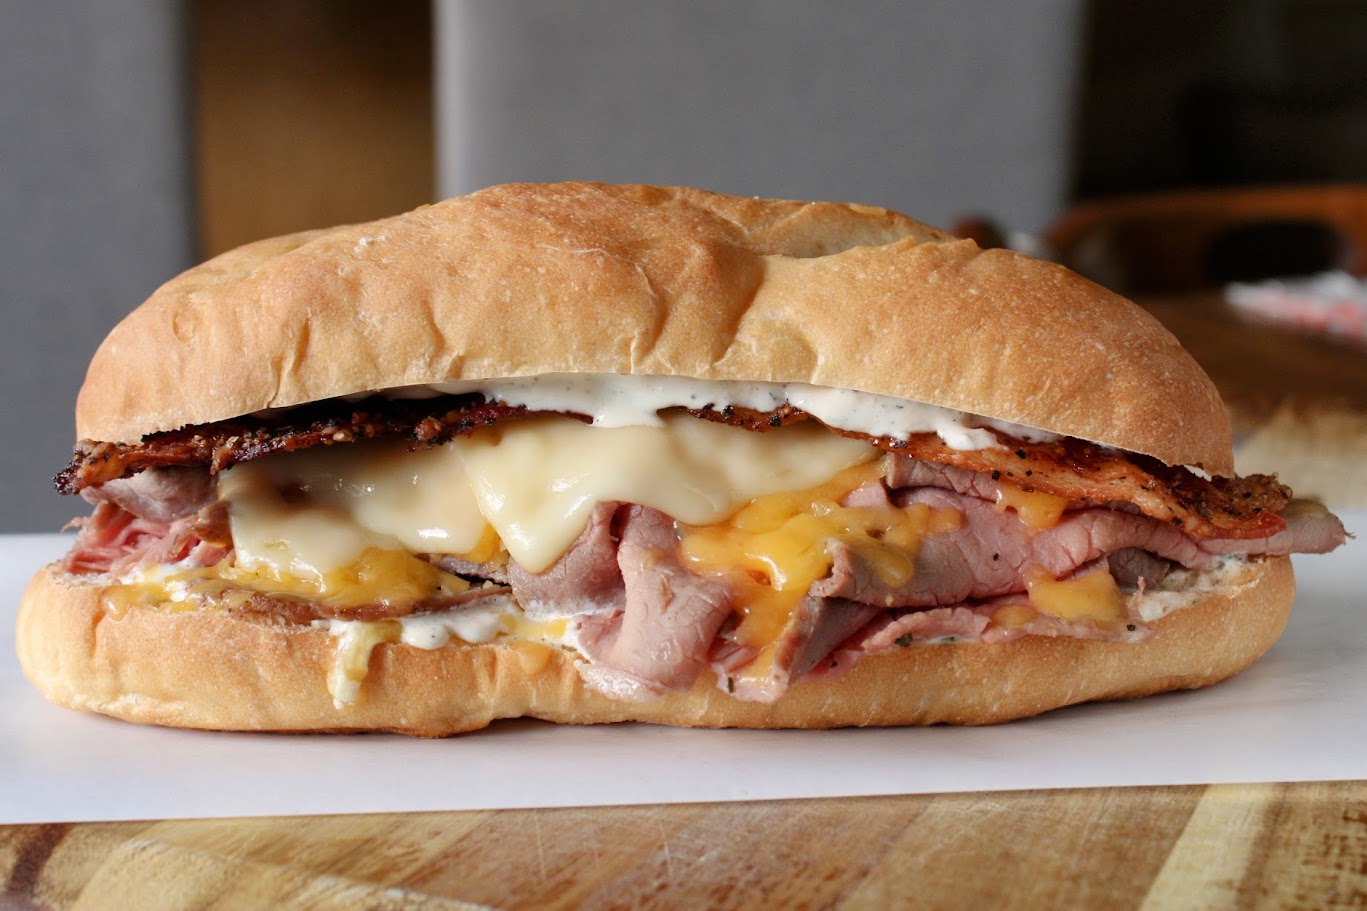
Italian sandwich rolls
5 sandwich rolls
30 minutes
20 minutes
10 hours and 50 minutes
Ingredients:
Overnight starter- 60 grams bread flour (1/2 cup)
- 60 grams water (1/4 cup)
- 3 grams instant yeast (1/2 teaspoon)
- All the overnight starter
- 300 grams bread flour (2 1/2 cups)
- 7 grams instant yeast (1 1/2 teaspoons)
- 21 grams honey (1 tablespoon)
- 14 grams olive oil (1 tablespoon)
- 8 grams salt (1 1/2 teaspoons)
- 140 grams warm water (1/2 cup + 1 tablespoon and 1 teaspoon)
- 1 large egg white
- 1 tablespoon water
- sesame seeds (optional)
Check below recipe directions
for additional notes.
Related blog post: Can a shrimp roll?
Directions:
In a medium-sized bowl, mix all ingredients for the Overnight starter. This will be a very sticky dough but you don't need to knead it, just stir until all the dry flour is gone.
Let the overnight starter rest on the counter or in a warm place in your kitchen overnight or for at least 4 hours. Overnight will help result in more flavor in your rolls.
When you're ready to make your dough, add all ingredients into your stand mixer or if you're mixing by hand, add to a large bowl.
If you're using a stand mixer, mix/knead the dough with the dough hook for 8 minutes and you should have a smooth dough If you're kneading by hand, you will want to knead for 15 minutes or until you have a smooth dough.
Place the dough in a lightly oiled bowl that is covered with a lid or plastic wrap and place it in a warm spot in your kitchen for 45 minutes.
After 45 minutes, with a slightly wet or greased hand, fold the dough over itself in the bowl 7 or 8 times. Just pinch one corner, stretch it straight up and fold it down over the dough. Rotate the bowl slightly and do it again. Repeat 7 or 8 times. This is called a "stretch and fold." It isn't required, but it helps build structure and gluten in the final bread.
Recover the bowl and rest the dough for another 45 minutes.
Shape the dough into 5 even-sized pieces. I usually use a scale to be precise. Form each dough into a ball and let the dough balls rest on the counter for 15 minutes prior to final shaping.
After 15 minutes, using your hands, shape each dough ball into a flat rectangle about 6 inches by 4 inches. Roll each rectangle tightly on the long side. So, you should end up with a cylinder that's about 5 or 6 inches long. When you're done rolling, pinch the seam closed very well and roll the dough log/cylinder on the counter 3 or 4 times to help shape. Taper the ends if you want for a more professional look. Place all shaped rolls on a parchment-lined sheet pan and allow to rest for 1 to 1.5 hours.
After 45 minutes to 1 hour of final rise time, preheat your oven to 425 degrees F (218 C).
Add an egg white and a tablespoon of water to a bowl and stir until combined. This is your egg white wash.
After the oven has pre-heated, paint your rolls liberally with the egg white wash and add any sesame seeds on top of the egg white wash if you desire. At this point, you can add one or two slashes with a very sharp knife to each roll. These are purely decorative.
Bake for 20 to 25 minutes rotating the pan 180 degrees at the halfway point.
After your rolls have achieved the level of browning that you desire, remove them from the oven and allow them to rest on a wire rack before serving.
Notes:
Note: if you do not have time for the overnight rise, you can simply just add all ingredients for the overnight starter and the Italian sub roll at the same time and proceed with kneading the dough. The rolls will have a little less flavor without the overnight rise time though.


Feel like the poulish hydration is off. Could you have the greatest recipe site on the web, and still make the worlds lumpiest pancake?
The poolish on this recipe should be correct. It’s going to be the texture of a really thick pancake batter but once you add the poolish to the rest of the dough the hydration will become much more like normal dough.
Hey Jonathan, just wanted to verify the hydration % here is ~53%. Dough felt a bit dry while mixing but its the first time I’m using this recipe so figured I’d check in.
That should be the proper hydration. I will probably remake the dough in the near future to double check.
Edit: I have made this recipe twice more and the hydration works for me. It’s a denser, dryer dough that ends up making a denser and chewier roll.
What if I have a sour dough starter already in my fridge. DO you have calculations for using that with this dough recipe?