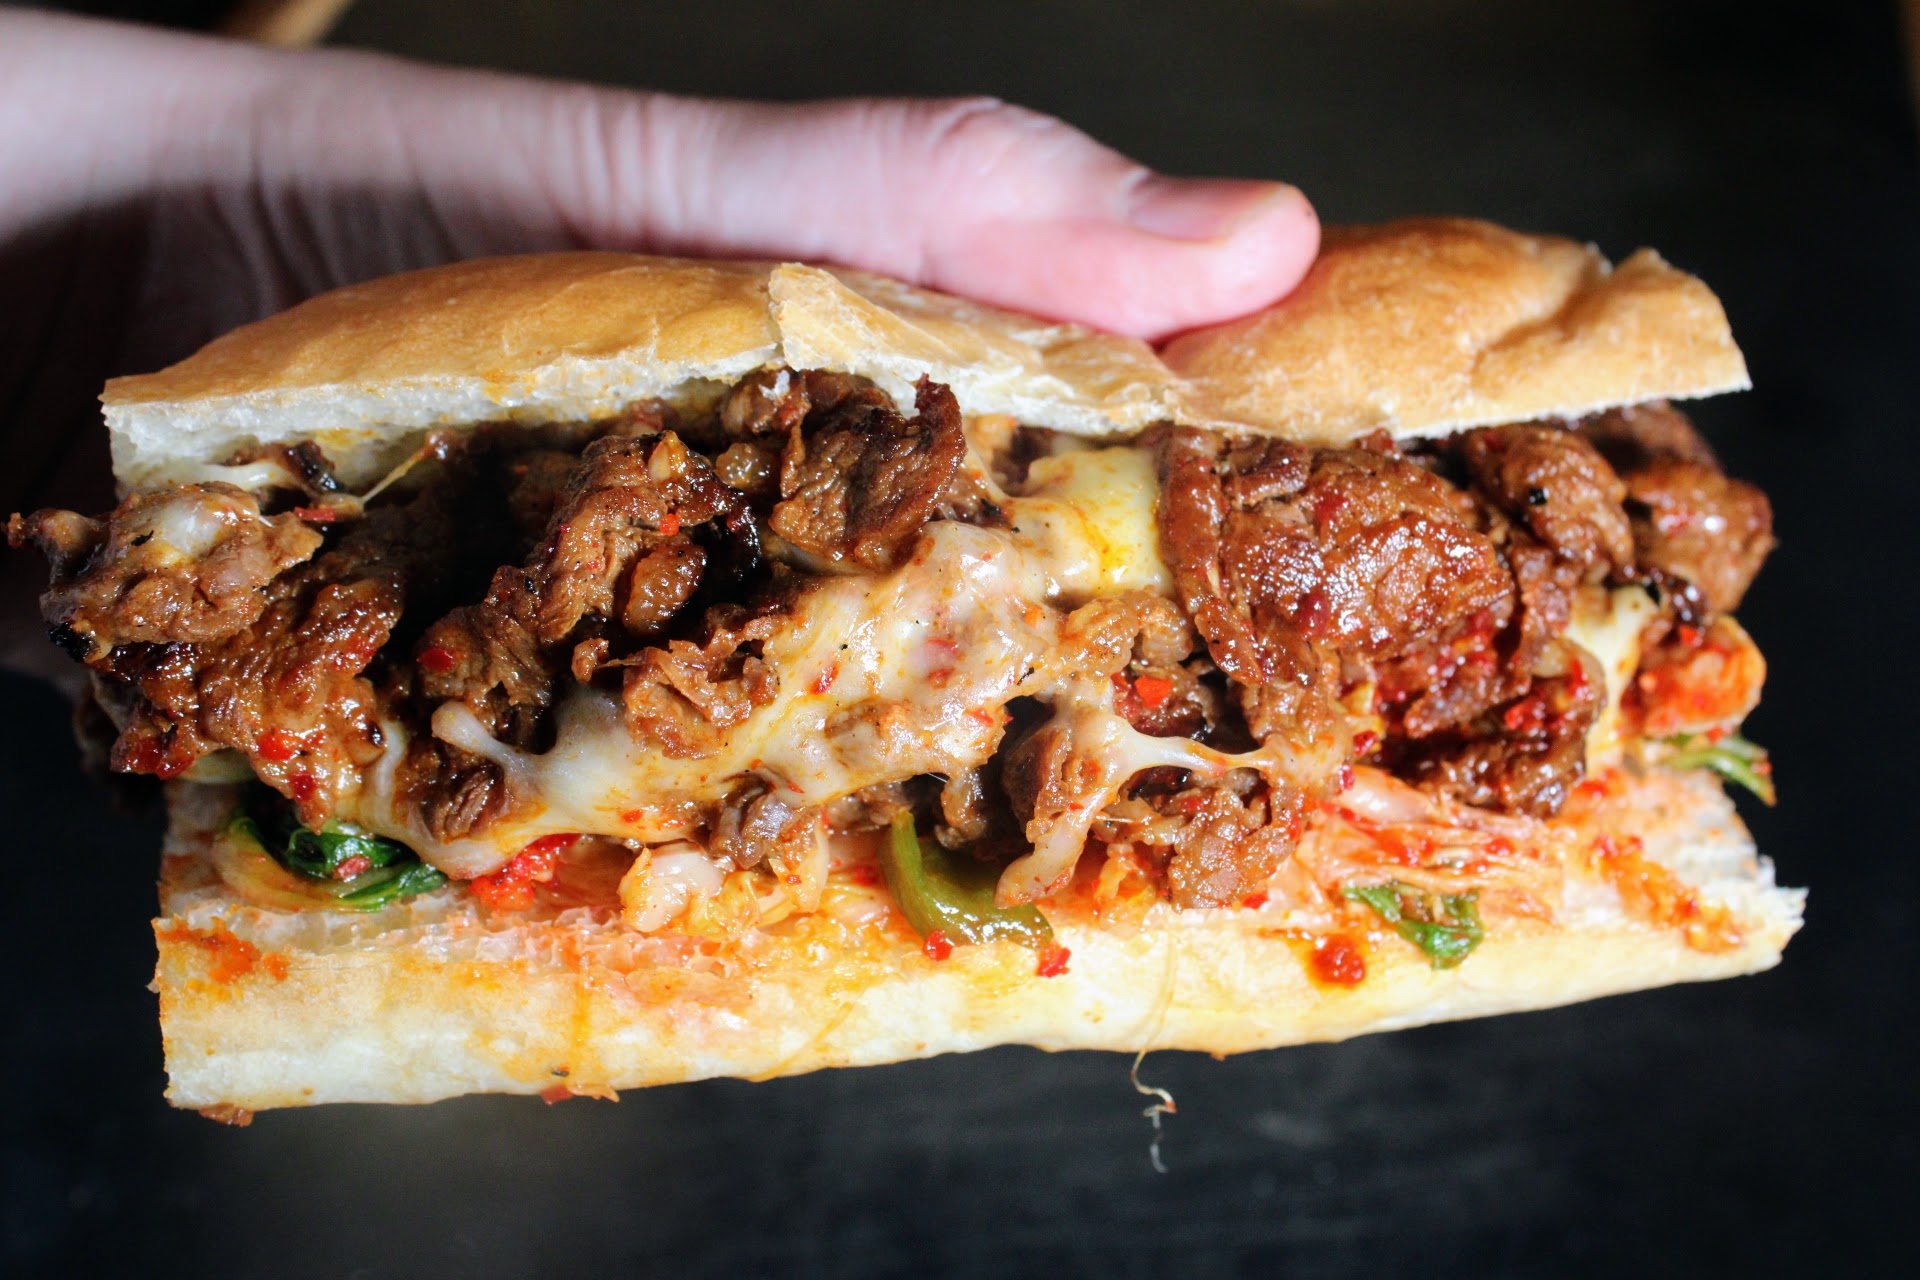
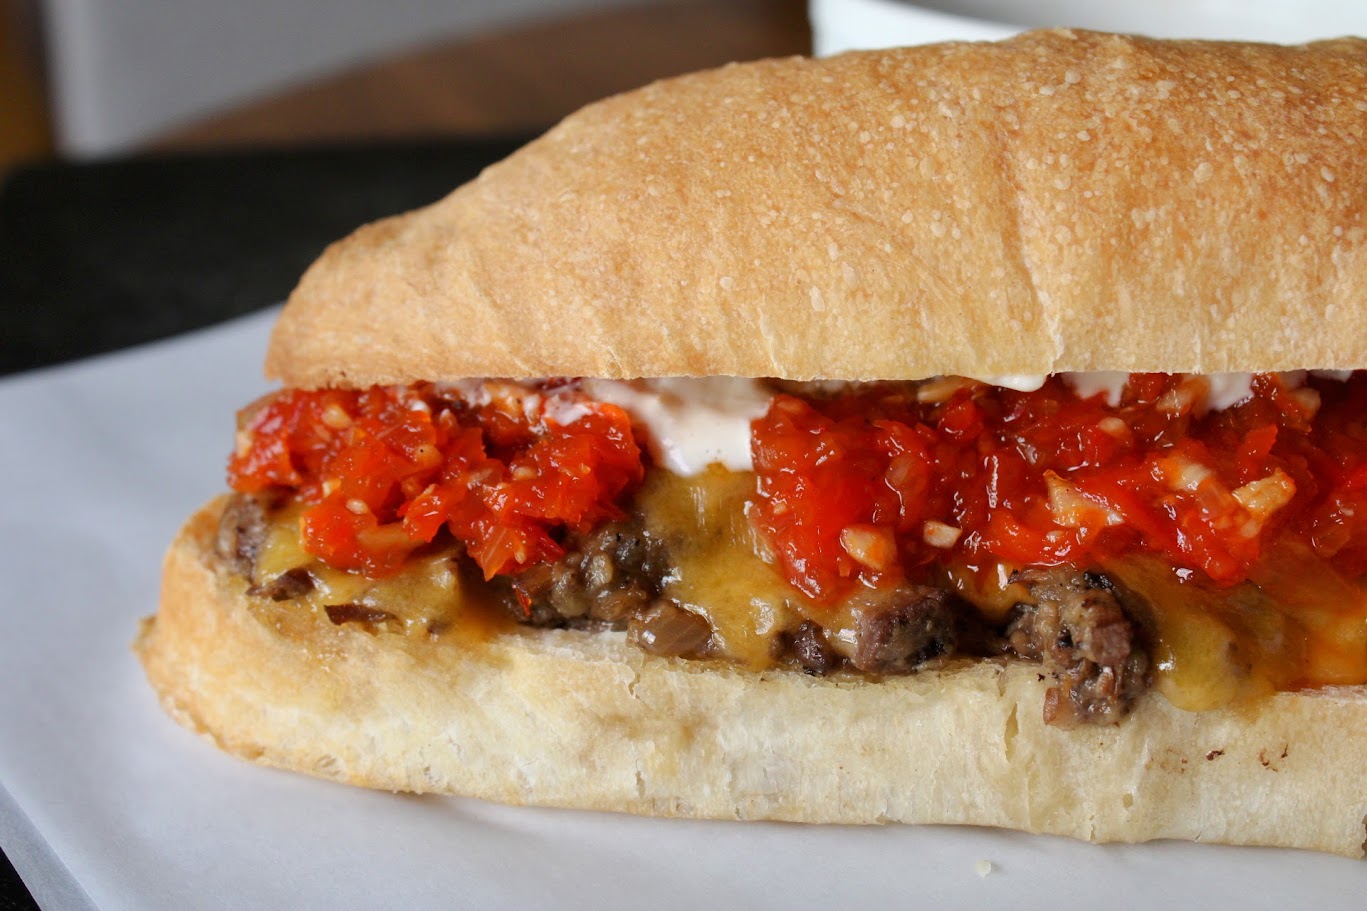
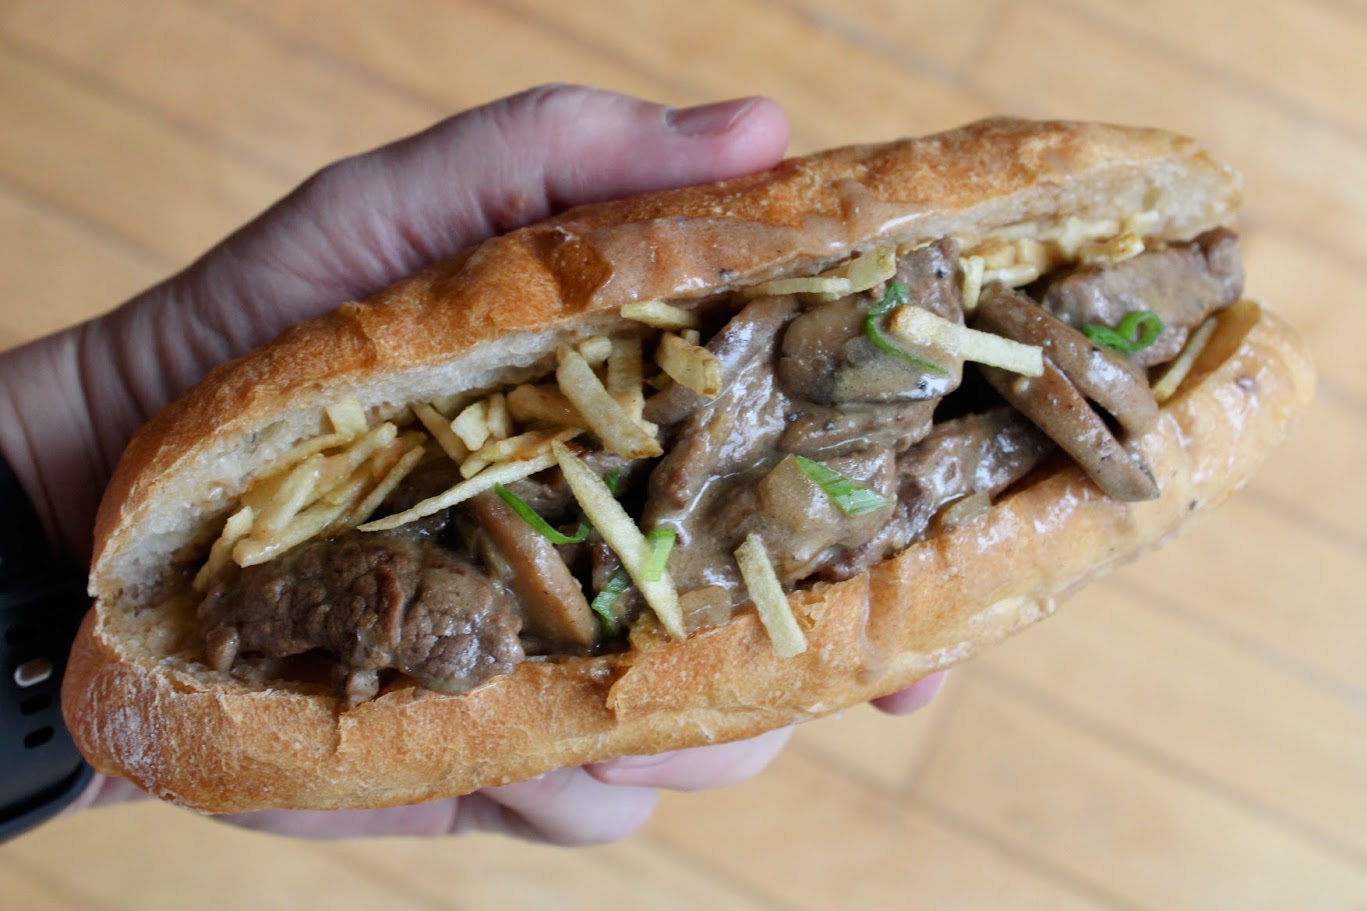
Chicago-style sub rolls
6 six-to-eight-inch rolls (or 3 longer ones)
35 minutes
25 minutes
3 hours and 30 minutes
Ingredients:
Overnight starter- 120 grams bread flour (1 cup)
- 120 grams water (1/2 cup)
- 3 grams instant yeast (1/2 teaspoon)
- All of the overnight starter
- 360 grams bread flour (3 cups)
- 13 grams granulated sugar (1 tablespoon)
- 9 grams instant yeast (2 teaspoons)
- 8 grams salt (1 1/2 teaspoon)
- 14 grams olive oil (1 tablespoon)
- 240 grams water (1 cup)
Check below recipe directions
for additional notes.
Related blog post: I found the beef!
Directions:
In a medium-sized bowl, mix all ingredients for the Overnight rise. This will be the consistency of a thick pancake batter; it will not seem like dough.
Let the overnight starter rest on the counter or in a warm place in your kitchen overnight or for at least 4 hours. Overnight will help result in more flavor in your rolls.
When you're ready to make your dough, add all dough ingredients into your stand mixer or if you're mixing by hand, add to a large bowl.
If you're using a stand mixer, mix/knead the dough with the dough hook for 8 minutes and you should have a smooth dough If you're kneading by hand, you will want to knead for 15 minutes or until you have a smooth dough.
Place the dough in a lightly oiled bowl that is covered with a lid or plastic wrap and place it in a warm spot in your kitchen for 45 minutes.
After 45 minutes, with a slightly wet or greased hand, fold the dough over itself in the bowl 7 or 8 times. Just pinch one corner, stretch it straight up and fold it down over the dough. Rotate the bowl slightly and do it again. Repeat 7 or 8 times. This is called a "stretch and fold." It isn't required, but it helps build structure and gluten in the final bread.
Cover the bowl again and rest the dough for another 45 minutes.
Shape the dough into six or seven even-sized pieces. I usually use a scale to be precise. Form each dough into a ball and let the dough balls rest on the counter for 15 minutes prior to final shaping.
After 15 minutes, using your hands, shape each dough ball into a flat rectangle about 6 to 8 inches by 4 inches. Roll each rectangle tightly on the long side. So, you should end up with a cylinder that's about 6 to 8 inches. When you're done rolling, pinch the seam closed very well and roll the dough log/cylinder on the counter 3 or 4 times to help shape. Taper the ends if you want a more professional look.
Place all shaped rolls on a sheet pan and allow to rest for 1 to 1.5 hours.
After 1 or 1.5 hours of final rise time, preheat your oven to 450 degrees F (230 C).
Place a roasting pan or oven-safe pan on the bottom rack of your oven during the pre-heating time.
After the oven has pre-heated, spray all your rolls liberally with water. If you want to score the tops of the rolls (like I did in the photo above) you should do that after you spray the rolls with water. Scoring is optional though. Add your sheet pan with all of your risen and shaped dough.
Add 2 cups of hot water to the preheated pan in the bottom of the oven and quickly close the door. I use the microwave to heat up the 2 cups for about a minute, but you can bring it to boiling in a pot on the stove if you prefer.
Bake for 20 to 25 minutes rotating halfway and spritzing with more water at the halfway point. Be careful opening the oven door because there could be a lot of steam coming out.
After your rolls have achieved the level of browning that you desire, remove them from the oven and allow them to rest on a wire rack before serving.
Notes:
You can make these into 6 rolls or 3 longer rolls if you want. Just adjust the shaping method for more of an 11 or 12 inch roll if you plan to make them longer.


Works great for Italian Beef!! This recipe yields 2 nice loaves for me that make 4 sandwiches. Several Italian Beef recipes on YT. My favorite is Brian Lagerstrom
Thanks! I’m a Brian Lagerstrom fan as well. Makes great, educational content.
Do you score the rolls before they go in the oven? The photo looks like there is a score down the middle.
I do it both ways. Sometimes I score them and sometimes I do not. I will go read the recipe again and update with that info. Thanks!
I usually never comment on recipes, but I’ve recently been diagnosed with some crazy allergies and can’t eat pre-made breads. It was killing me, especially being from Chicago and wanting some Italian Beef sandwiches. This recipe saved me! These are so good that I wouldn’t go back to store-bought again even if I could!
For my second batch, I did decrease the temp to 400 and added an egg-white wash to them. I don’t know if it made a huge difference really. Either way, these are light and airy but hold up to my gravy, and most importantly, they taste amazing. My wife and kids put them right up there with Turano and added that they taste even better because they taste fresh.
Thanks for the recipe! You saved me when it comes to French rolls and my stupid allergies!
That’s awesome to read. Thanks for the comment, Drew! And good luck in future baking.
I was so impressed with this bread. It had a beautiful crispness to the crust but the inside was wonderfully soft with great flavor. We Just really enjoyed it. My dough was very wet so it was a little hard to work with. I made it into two loaves and put it on parchment so that I could use the paper to keep the dough from spreading out. Should I have added a little bit of flour? Either way, it’s hard to argue the results. Truly one of my top five favorite loaves I’ve made.