
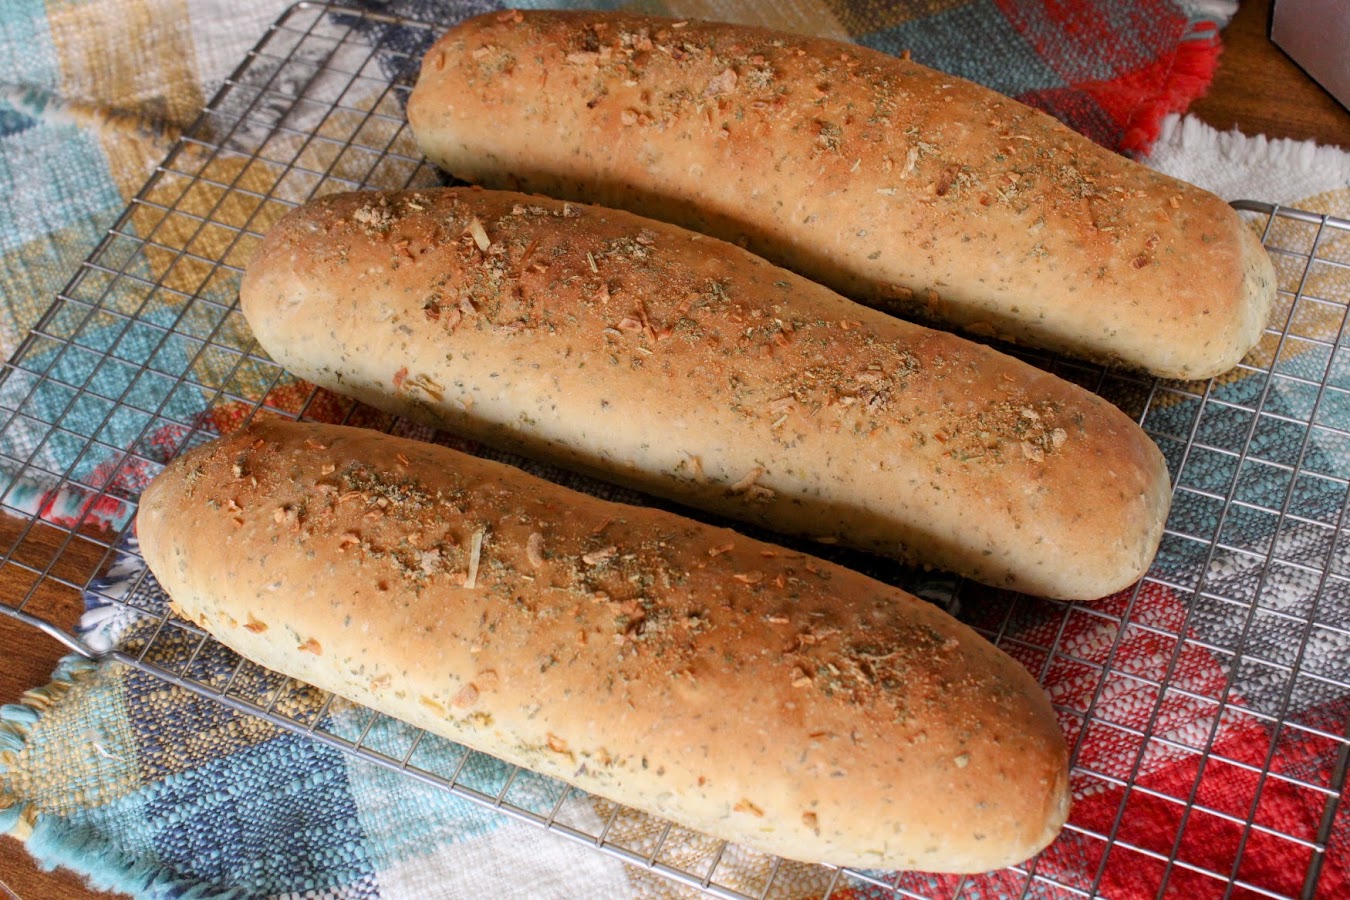
Herby onion sub rolls
recipe added: Nov 13, 2026
3 sub sandwich rolls
30 minutes
30 minutes
3 hours
Ingredients:
Herby onion mix- 1 package of onion soup mix (Lipton brand)
- 1 tablespoon poultry seasoning
- 1 tablespoon dried parsley
- 360 grams bread flour (3 cups - all-purpose flour works too)
- 13 grams sugar (1 tablespoon)
- 9 grams table salt (2 teaspoons)
- 9 grams instant or active dry yeast (1 tablespoon)
- all but 2 tablespoons of the herby onion mix
- 14 grams olive oil (1 tablespoon)
- 227 grams lukewarm water (1 cup)
- 2 tablespoons herby onion mix
- 1 tablespoon dried onion flakes
Check below recipe directions
for additional notes.
Suggested Equipment
Directions:
8:00 amHerby onion mix: mix the herby onion mix ingredients in a bowl and set aside.
Combine the flour, sugar, salt, yeast, and all but 2 tablespoons of herby onion mix into a large bowl or the bowl of your stand mixer. Give all of the dry ingredients a good stir. Then add olive oil and water.
If using a stand mixer, using your dough hook and mix on medium speed for 8 minutes or until the dough is smooth and pulled away from the bowl. After the mixer has done its work, turn the dough out onto a lightly oiled or floured surface and knead with your hands until you have a nice smooth, round dough ball - one or two minutes.
If you're kneading by hand, stir all the ingredients in the bowl until combined, and knead with your hands on a lightly flour-dusted counter for 10 minutes or until you have a smooth dough. Try to add as little flour as possible at this point. The dough will be sticky at first and get all over your hands, but keep mashing it and rolling it, and kneading it and after a few minutes, it will start to be less sticky.
8:15 amShape your dough into a ball and place it in a lightly greased/oiled bowl in a warm place for 1 to 1.5 hours.
9:25 amAfter the dough has almost doubled in size, turn it onto a lightly floured or oiled surface. Divide into three equal pieces (use a scale if you want perfect sizes).
Press each dough piece with your fingers until you have a rectangle of about half of the length that you want (in this case around 5 or 6 inches since we're making 12-inch rolls) and about 3 inches wide. Roll the flattened rectangle up from the long side to the other long side until you have a log that is about 6 inches long and 1.5 to 2 inches around. Pinch the seal closed very well from one end of the seam to the other. This is important and helps the top of your dough log to stay tight.
After I seal the seam, I roll the log over and over and carefully stretch the dough log until it's around 12 inches long. Do this for each of your 3 dough portions and place on a parchment-lined sheet pan. If you're using a silicone sub-roll mold, place each dough log in the mold with the mold placed in a sheet pan. Place each dough log pinched seam side down.
Flatten each dough log with your fingers slightly so that it doesn't rise into quite a round cylinder. This will help the roll to be shaped better for sandwiches.
Cover your sheet pan with a lightly oiled/greased plastic wrap and place in a warm area for 1 hour.
10:35 amPreheat oven to 375F (190 C).
10:40 amRight before baking, sprinkle the remaining herby onion mix onto the tops of the rolls. Then sprinkle on some additional dried onion flakes. You can press things down very, very lightly with your finger so that the herbs and onion will stick just a bit to the top. Try not to press too hard to deflate the rolls.
10:45 amBake for 25 to 30 minutes, rotating the pan 180 degrees at the halfway point. (Note: this time is for non-convection ovens. If I use the convection setting it could cut as much as 8 minutes off the bake time.) Just take a peek at it when you turn the bread at the halfway point, and if it's already fairly tan, you might want to keep an eye on it. Your sub rolls need an internal temp of 190 F (88 C) to be fully cooked.
11:10 amAllow bread to cool before slicing.
Notes:
If you want, you can shape these into 5 or 6 inch small rolls too. I usually shoot for about 110 or 115 grams per roll for a good 6-inch sandwich roll. You can also double all ingredients in this recipe for a double batch of 6 twelve-inch rolls.
This is a 67% hydration dough, so it should be pretty easy for anyone to handle.
You can use all-purpose flour instead of bread flour, but your final bread will have less of a chewy density that you typically find in sub rolls.